
Camera was a great invention that allows people to capture the moments of real life. However, it's not easy for users to capture the real colors. Factors, such as camera functions, light level of the environment, play important rolls on the photos. I've struggled a lot in the pass on how to take good photos for jewelry, and experimented on different light settings.
Eventually I realized that natural light is the best and below I am going to share a few tips with you from my jewelry photo taking experience.
1. Get close to the window. Use natural daylight
My home photo studio setup is very simple. My light source is from the window of my bedroom. I use the back of a chair to raise the supporting surface to be the same level as the windowsill, and cover it with a piece of white board. Also, I put another piece of white board as the background, which helps to bounce the light to the jewelry. That's it!
2. Adjust the position of the jewelry to catch the light
Since the light source is still, I simply adjust the position of the jewelry to face the light, so that the light can spark through the stones.
3. Have fun and enjoy
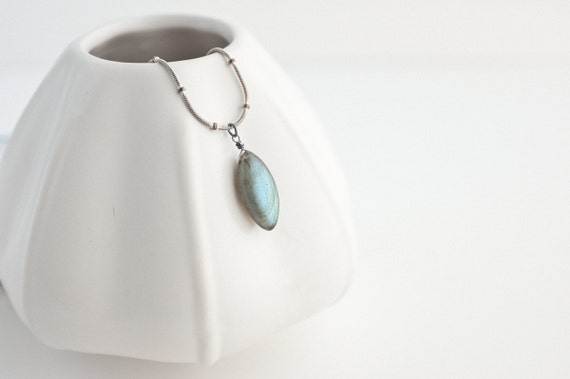
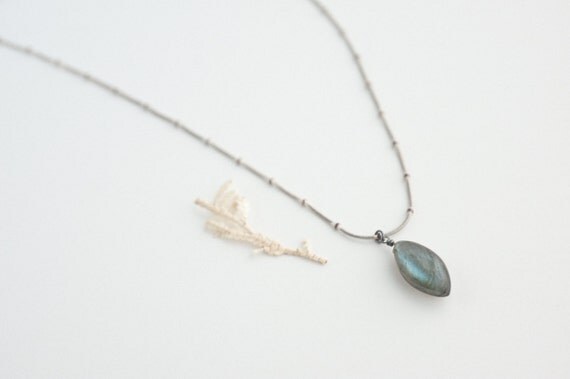
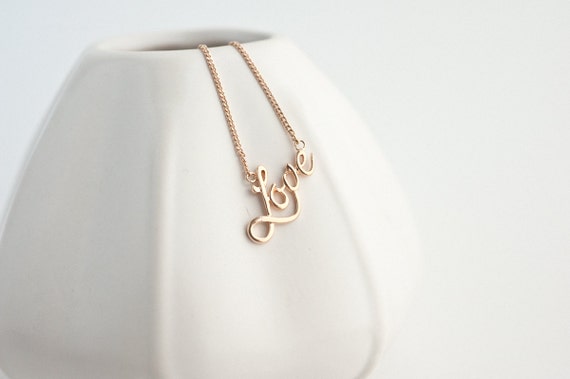
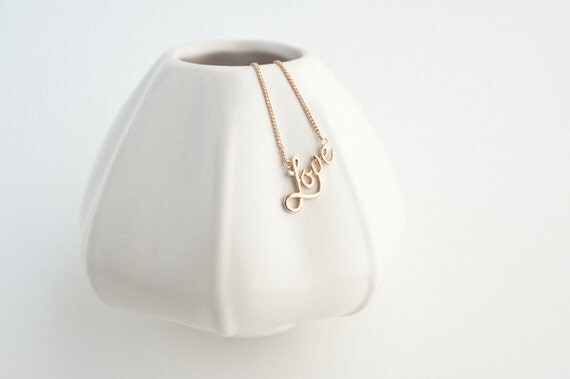
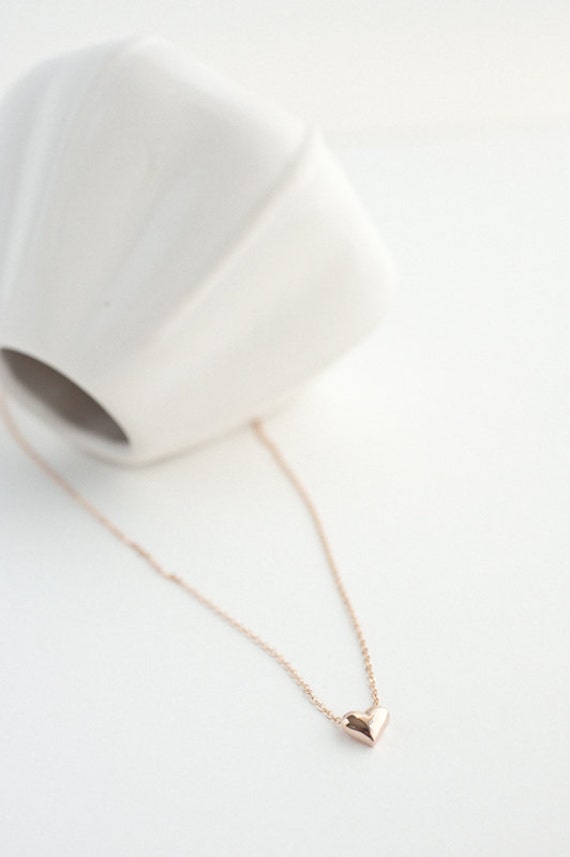
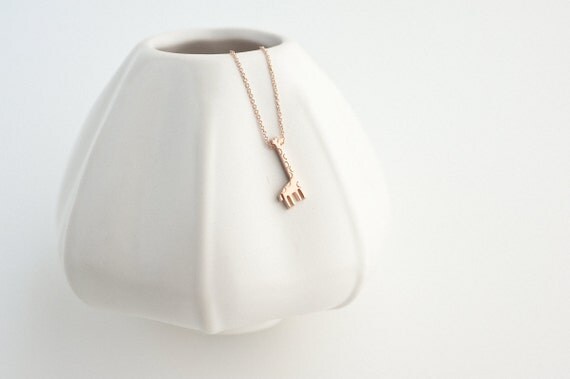
I use a bowl or a flower vase as the background. The different compositions make interesting shots.
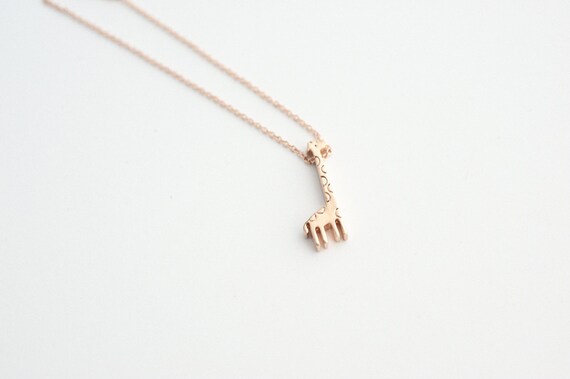
Below are a few pictures that I took over the weekend. They are the new items recently added to my store in LoveGem Studio.


No comments:
Post a Comment